Somewhere between the analytical balance and the freezer, every peptide lab runs into the same practical question: how do you get a solution clean and sterile without destroying the peptide in the process? Peptide filtration in the lab is the standard answer — passing solutions through membrane filters that remove particulates and microorganisms while letting the dissolved peptide through. It sounds simple until the details arrive: which pore size, which membrane material, how much peptide is lost to the membrane itself, and what “sterile technique” actually requires at the bench. This guide covers peptide filtration in the lab as laboratory equipment and process — the filters, the technique, and the pitfalls — framed strictly for research sample preparation. It is not about preparing anything for administration, and it contains no administration instructions of any kind.
Research-use-only disclaimer: This article describes general laboratory filtration technique for research sample preparation. All compounds discussed are handled strictly as research materials for laboratory and scientific investigation. This article contains no dosing information, no administration instructions, and no medical advice.
Peptide Filtration in the Lab: What It Is and Why Labs Do It
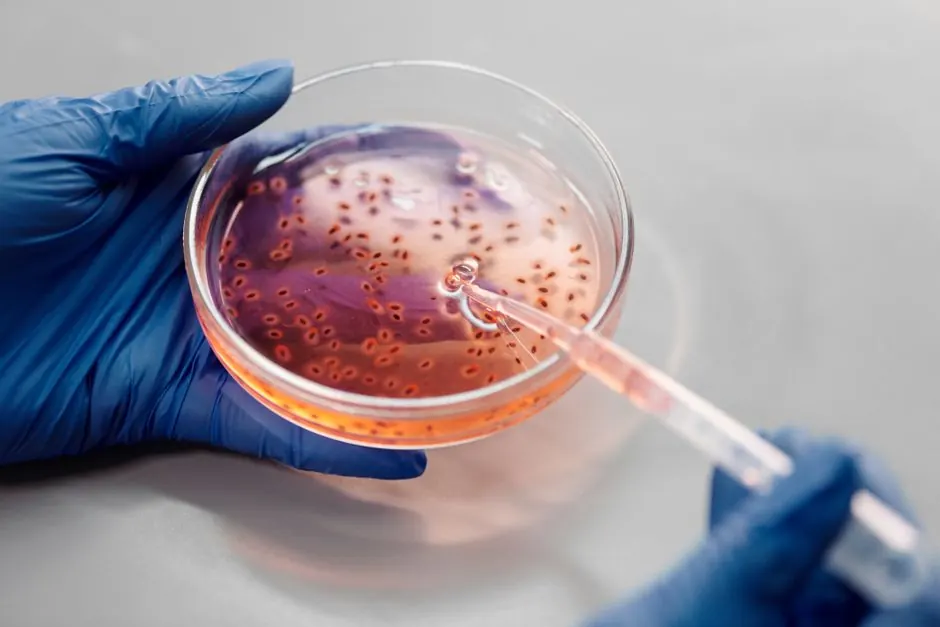
At its simplest, peptide filtration in the lab means pushing or pulling a liquid through a thin polymer membrane with precisely controlled pores. Anything larger than the pores stays behind; the peptide, dissolved at the molecular level, passes through with the solvent. Labs turn to peptide filtration in the lab for three routine reasons:
- Sterilization: removing bacteria and other microorganisms from buffers and solutions used in cell culture and sensitive assays. A 0.22-micron membrane is the sterilizing grade — bacteria are typically larger than the pores and are retained.
- Clarification: removing particulates, undissolved material, and aggregates before analysis. A 0.45-micron membrane is the usual clarification grade, and filtration is standard sample prep before HPLC and other analytical techniques.
- Quality control: producing particle-free solutions for spectroscopy, light-scattering measurements, and other techniques where a single dust particle ruins the data.
What filtration cannot do is equally worth stating: it does not remove dissolved contaminants, endotoxins reliably, or viruses (which are far smaller than 0.22 microns). Peptide filtration in the lab is a defined tool with defined limits, and good technique starts with knowing both — a principle this peptide filtration in the lab guide keeps returning to. Researchers comparing laboratory practices across peptide workflows may also find our selank vs semax research comparison useful for the broader research-compound context.
The two numbers that matter most: 0.22 µm = sterilizing-grade filtration (retains bacteria). 0.45 µm = clarification-grade filtration (removes particulates before analysis). Everything else — membrane material, device format, technique — is about executing one of these two jobs without losing peptide to the filter.
Choosing the Membrane: The Peptide Filtration Decision Table
The membrane is where peptide filtration in the lab is won or lost. Different polymers bind peptides to different degrees, and at low concentrations, membrane adsorption can remove a meaningful fraction of the peptide from solution — the filter quietly eats the sample. The table below summarizes the common membrane materials and their suitability for peptide work, and it is the single most-consulted reference in any peptide filtration in the lab workflow.
| Membrane material | Protein/peptide binding | Typical use | Notes for peptide work |
|---|---|---|---|
| PES (polyethersulfone) | Very low | Sterilizing filtration of buffers and aqueous solutions | Often the default choice for peptide solutions; fast flow, low adsorption |
| PVDF (polyvinylidene fluoride) | Very low | Sterilizing filtration; aggressive solvents | Excellent for peptides; broader chemical compatibility than PES |
| Cellulose acetate | Low | Clarification; aqueous solutions | Good low binding, but less chemical resistance |
| MCE (mixed cellulose ester) | Moderate | General clarification; particle counting | Acceptable for clarification, less ideal for precious low-concentration peptides |
| Nylon | Higher | Solvent filtration; HPLC mobile phases | Useful for solvents, but its higher binding makes it a poor choice for dilute peptide solutions |
The practical rule for peptide filtration in the lab: default to PES or PVDF for anything containing peptide, especially at low concentrations. Nylon’s place is filtering the solvents and mobile phases around the peptide work, not the peptide solutions themselves. When in doubt, the published guidance across filtration manufacturers is consistent — low-protein-binding membranes for valuable biological samples — and following it is what separates careful peptide filtration in the lab from careless filtration.
Peptide Filtration in the Lab: The Step-by-Step Process
Here is peptide filtration in the lab as a bench process, in the order a careful researcher performs it — the centerpiece of this peptide filtration in the lab guide. This describes laboratory sample-preparation technique only.
Step 1 — Select the filter. Match pore size to the job (0.22 µm for sterilizing, 0.45 µm for clarification) and membrane to the sample (PES or PVDF for peptide-containing solutions). Choose a device format that fits the volume: small-volume syringe filters for milliliters, bottle-top or capsule filters for larger batches. Check chemical compatibility of the housing and membrane with your solvent.
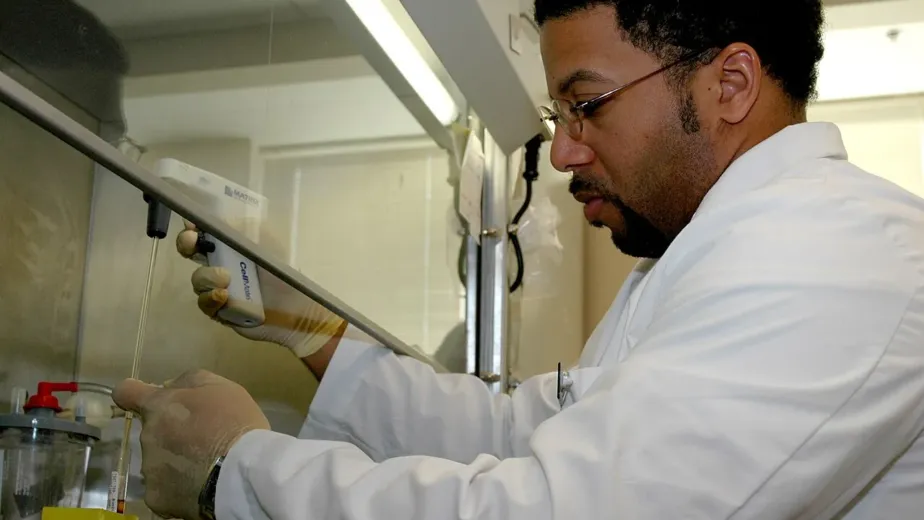
Step 2 — Prepare the workspace. For sterilizing filtration, work in a biosafety cabinet or laminar-flow hood with proper aseptic technique: disinfected surfaces, sterile gloves, minimal talking and movement over open containers. Clarification filtration for analysis needs cleanliness but not full aseptic conditions — match the rigor to the purpose.
Step 3 — Pre-wet and flush. Pass a small volume of clean solvent or buffer through the filter first and discard it. This flushes manufacturing residues and extractables from the membrane and wets the pores, which improves flow and reduces the peptide loss to initial adsorption.
Step 4 — Filter the sample. Apply steady, gentle pressure — never force a clogged filter, which risks membrane rupture and defeats the purpose. If flow slows dramatically, the filter is loaded with retained material; replace it rather than pushing harder. Collect the filtrate in a clean, preferably sterile, receiving vessel.
Step 5 — Handle the filtrate correctly. Label immediately (contents, concentration, date, preparer, filter pore size and membrane). Aliquot if the solution will be frozen, so future work thaws only what it needs. Return to appropriate storage — refrigerated for working solutions, frozen in aliquots for stocks.
Step 6 — Dispose of the used filter. Membrane filters are single-use. A used filter goes to lab waste per institutional protocols — never rinsed and reused, since retained contaminants and a compromised pore structure make reuse unreliable.
Common Pitfalls in Peptide Filtration
Most peptide filtration in the lab failures fall into a short list of familiar mistakes — and recognizing them is half of peptide filtration in the lab mastery:
- Filtering the wrong membrane: using nylon for a dilute peptide solution and losing a significant fraction to adsorption. The data then under-reads concentration through no fault of the assay.
- Skipping the pre-flush: the first milliliters through a dry filter carry the highest extractable load and the highest peptide loss. Discarding the pre-wet volume is cheap insurance.
- Over-pressuring a clogged filter: forcing flow through a loaded membrane can rupture it, passing everything the filter was meant to retain. Slow flow is a signal, not an obstacle.
- Filtering unnecessarily: every filtration step costs some peptide to membrane binding. If the solution is already particle-free and the assay does not require sterility, filtration adds loss without benefit. Filter with purpose.
- Confusing sterile with pyrogen-free: a 0.22-µm filter removes bacteria but does not reliably remove endotoxins. Work requiring endotoxin-free material needs dedicated depyrogenation, not just filtration.
- Reusing single-use devices: syringe filters are manufactured, validated, and priced as disposables. Reuse is false economy with real contamination risk.
Filtration in the Bigger Picture: Buffers, Analysis, and Storage
Peptide filtration in the lab rarely happens in isolation — it sits inside a workflow, and understanding that workflow is part of peptide filtration in the lab competence. Buffers are typically sterilized by filtration before peptide ever touches them, so the peptide solution starts life in a clean, particle-free, sterile vehicle. Analytical samples are clarified by filtration immediately before HPLC or spectroscopy, removing the aggregates and dust that would otherwise appear as ghost peaks or scattering artifacts. And filtered stock solutions, once aliquoted, go into the storage discipline described in our peptide handling literature — cold, dark, sealed, and documented.
One workflow note worth emphasizing: filter before aliquoting and freezing, not after thawing. A solution filtered, aliquoted, and frozen once has been stressed minimally; a solution frozen, thawed, filtered, and refrozen has collected damage at every step. The order of operations is part of the technique.
Labs handling multiple research compounds apply the same filtration discipline across the board. Our research listings for Semax 10mg and Selank 10mg are supplied strictly for laboratory investigation — and the sample-preparation standards described here are the standards those materials are handled under in serious labs. For related reading on peptide research formats, see our articles on semax nasal spray research and selank nasal spray research.
Key Takeaways — Peptide Filtration in the Lab (research summary):
- Peptide filtration in the lab serves sterilization (0.22 µm), clarification (0.45 µm), and analytical sample prep — three distinct jobs with different rigor requirements.
- Membrane choice drives peptide recovery: PES and PVDF offer very low binding for peptide solutions; nylon is for solvents, not dilute peptides.
- Standard process: select, prepare aseptically, pre-wet and flush, filter gently, label and aliquot the filtrate, dispose of the single-use filter.
- Common pitfalls: wrong membrane, skipped pre-flush, over-pressured clogged filters, unnecessary filtration steps, and confusing sterile with pyrogen-free.
- Filter before aliquoting and freezing — order of operations is part of the technique. This article covers laboratory equipment and process only.
Conclusion
Peptide filtration in the lab is one of those techniques that looks trivial until you do it badly — and then the lost peptide, the ghost peaks, and the contaminated cultures tell the story. Done well, it is nearly invisible: the right membrane, the right pore size, gentle pressure, a pre-flush, and a labeled aliquot in the freezer. The details in this peptide filtration in the lab guide — PES and PVDF for low binding, 0.22 versus 0.45 microns for sterilizing versus clarification, single-use discipline, filter-before-freeze ordering — are the difference between filtration as a reliable lab habit and filtration as a source of mysterious sample loss. Like every other piece of laboratory craft, peptide filtration in the lab rewards the researcher who treats the boring steps as the important ones. Because they are.
Frequently Asked Questions
What is peptide filtration in the lab used for?
Three routine purposes: sterilizing filtration (0.22 µm) to remove microorganisms from buffers and solutions for cell culture and sensitive assays; clarification filtration (0.45 µm) to remove particulates before analysis; and quality-control filtration to produce particle-free solutions for techniques like spectroscopy and light scattering.
Which membrane material is best for filtering peptide solutions?
PES (polyethersulfone) and PVDF (polyvinylidene fluoride) are the usual choices because of their very low protein/peptide binding, which minimizes sample loss to the membrane. Nylon binds peptides more strongly and is better reserved for filtering solvents rather than dilute peptide solutions.
What is the difference between 0.22 µm and 0.45 µm filtration?
0.22 µm is sterilizing grade — the pores are small enough to retain bacteria. 0.45 µm is clarification grade — it removes particulates and aggregates but is not considered sterilizing. Choose based on whether the goal is sterility or simply particle removal.
Should the filter be flushed before filtering the sample?
Yes, as standard practice. Passing clean solvent or buffer through first and discarding it flushes manufacturing residues from the membrane, wets the pores for better flow, and reduces peptide loss to initial adsorption.
Can membrane filters be reused?
No. Membrane filters are single-use devices. Reuse risks contamination from retained material and unreliable pore structure. Used filters go to lab waste per institutional protocols.
Where can researchers read more about peptide laboratory practice?
Our selank vs semax research comparison covers related research compounds, and the Semax 10mg and Selank 10mg listings are supplied strictly for laboratory research use.